If the video up-loader doesn't seem to be accepting your submissions, then chances are that your video file is over the size limit and will need to be edited to fit the basic size limitations. The limit is around 200mb (~200,000kb). Thankfully, running the video through the squeezer to reduce it's size is relatively painless - it will just require a little bit of setup and a few moments of your time while the program renders the file.
Microsoft Windows
Windows Movie Maker
>> Download Windows Live Essentials 2012 Here >>
MD5: 906689a666d3d9ab4cc951ed6354d0b1
Virus Total Report: Here
WINDOWS XP, VISTA, 7, 8
1.) Open Windows Movie Maker
2.) Navigate and Open your video file
3.) Drag your video onto the Storyboard at the bottom
4.) Select "Save To My Computer" on the left side menu
5.) Rename the video to "SmallerVideo1", or something like that
6.) Save it to the same directory
7.) The next option says "Compress to", set that option for 3MB * the number of minutes. So, for a 10 minute video - compress it to 30MB
8.) ** In newer versions of Movie Maker, at this point you should click the "SAVE TO" button on the top right of the menu bar and select "COMPUTER" to greatly reduce the size of the video. No need for Step 9 if the "SAVE TO" button was present, as the PUBLISH button does the same function.
9.) Click "PUBLISH" and wait for it to shrink.
Upload the new file created into the CGMS uploader application.
WINDOWS 10
1.) After opening Windows Movie Maker, ensure your current story board is empty.
2.) You can now Drag & Drop the movie file into the empty container on the right, or click in this area to bring up an open file dialog and add the traditional way.
3.) Navigate to File -> Save Movie, and scroll down to Website Settings and select "OneDrive".
**NOTE: This option will require roughly 18 MB per minute of video, so this option is efficient up to 10 minutes. If your video is over 10 minutes long, you may need to utilize an even lower setting such as the Feature Phone (Large) profile.
4.) Save the video in the same directory with a new name such as "SmallerVideo"
5.) Once the conversion process is finished, submit this file to the CGMS Video Uploader Application
Apple Macintosh
QuickTime
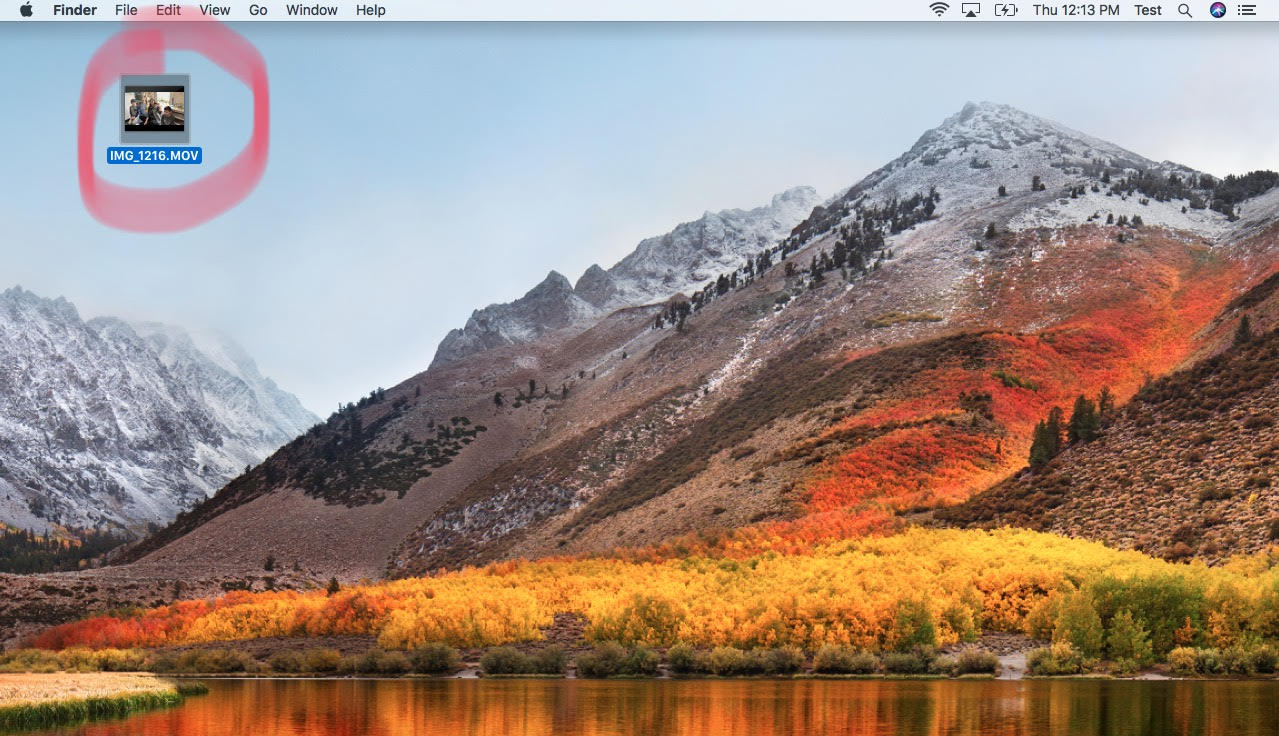
1.) Select your video so that it is highlighted.
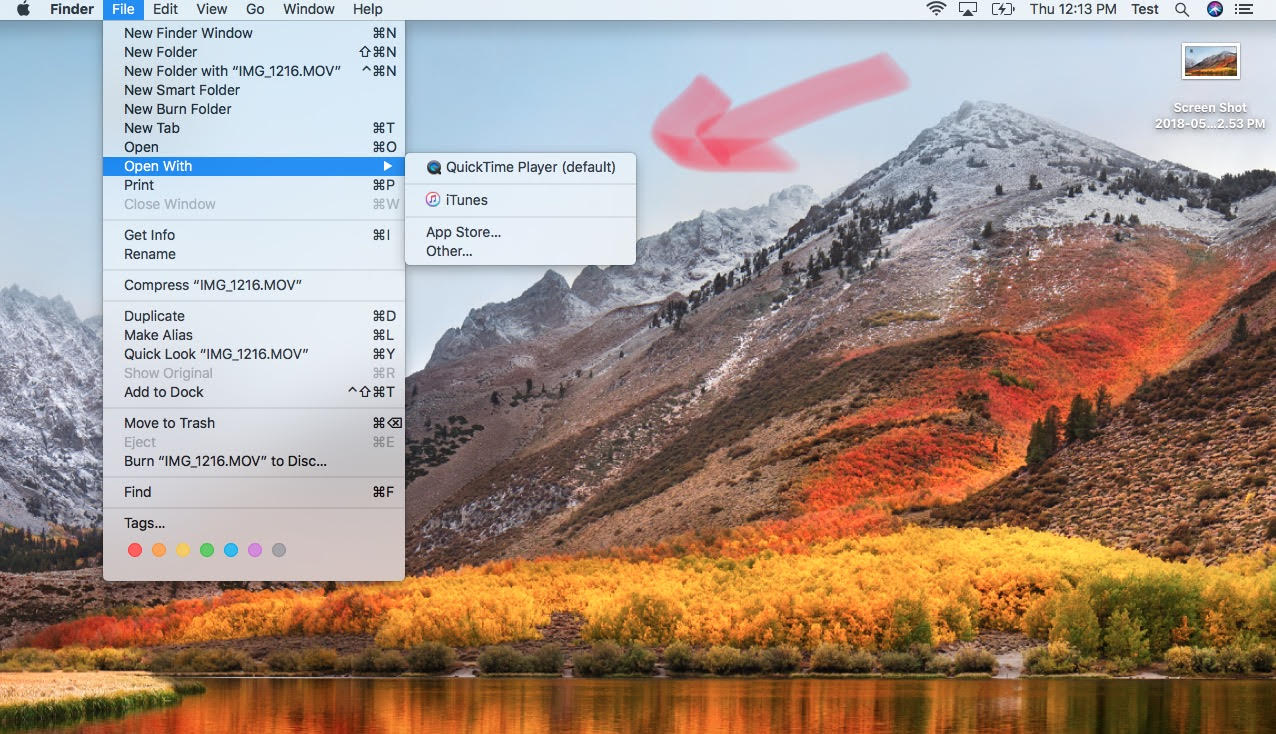
2.) Go to “File” at the top of your screen and choose “Open with QuickTime Player" from the dropdown menu.
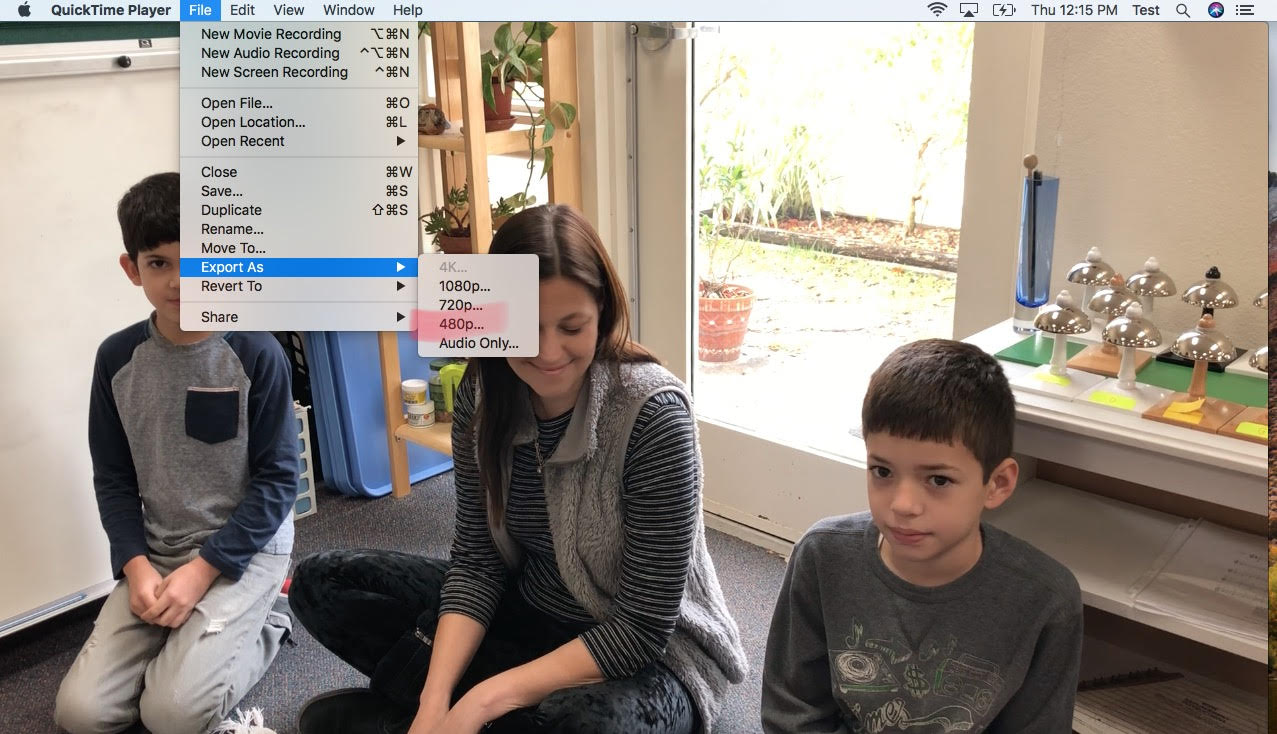
3.) Once the video is open, go back up to “File” at the top of your screen and choose “Export as 480p…” from the dropdown menu.
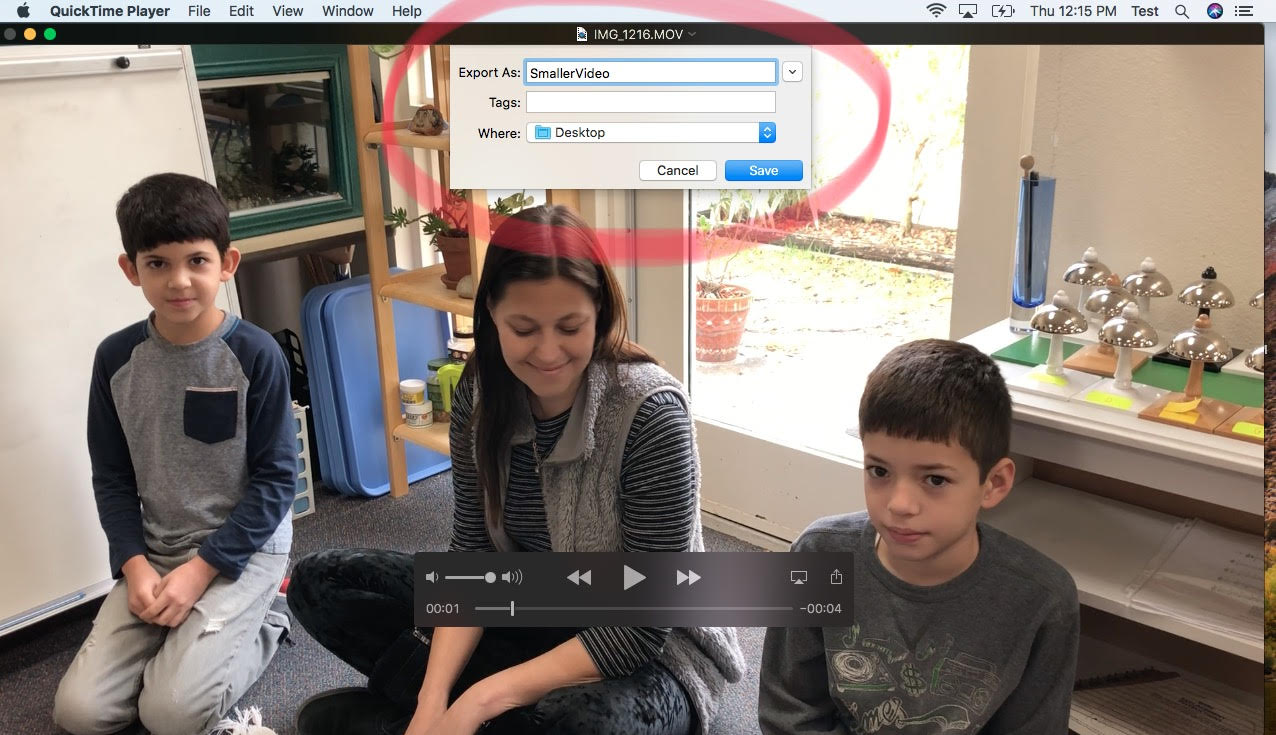
4.) Save this version as “SmallerVideo” to your Desktop so that you can find it for uploading.
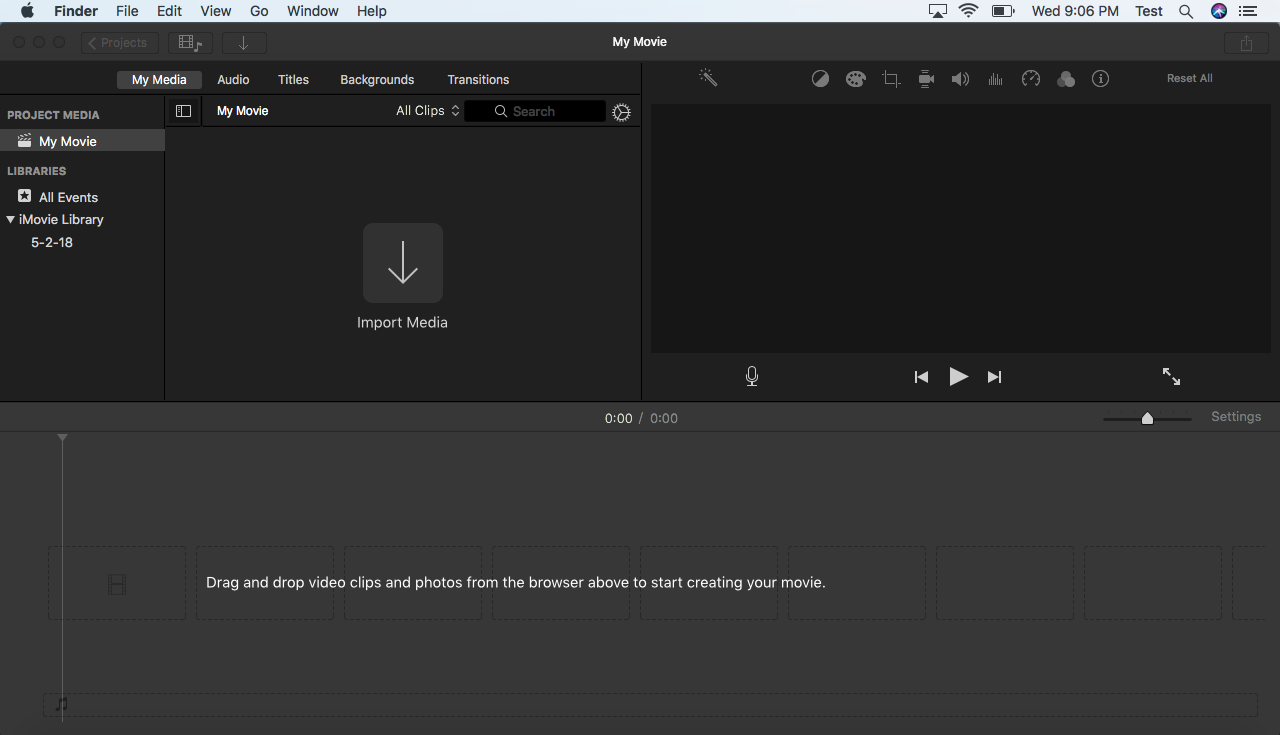
iMovie
1.) Once iMovie is open, click on “Import Media”.
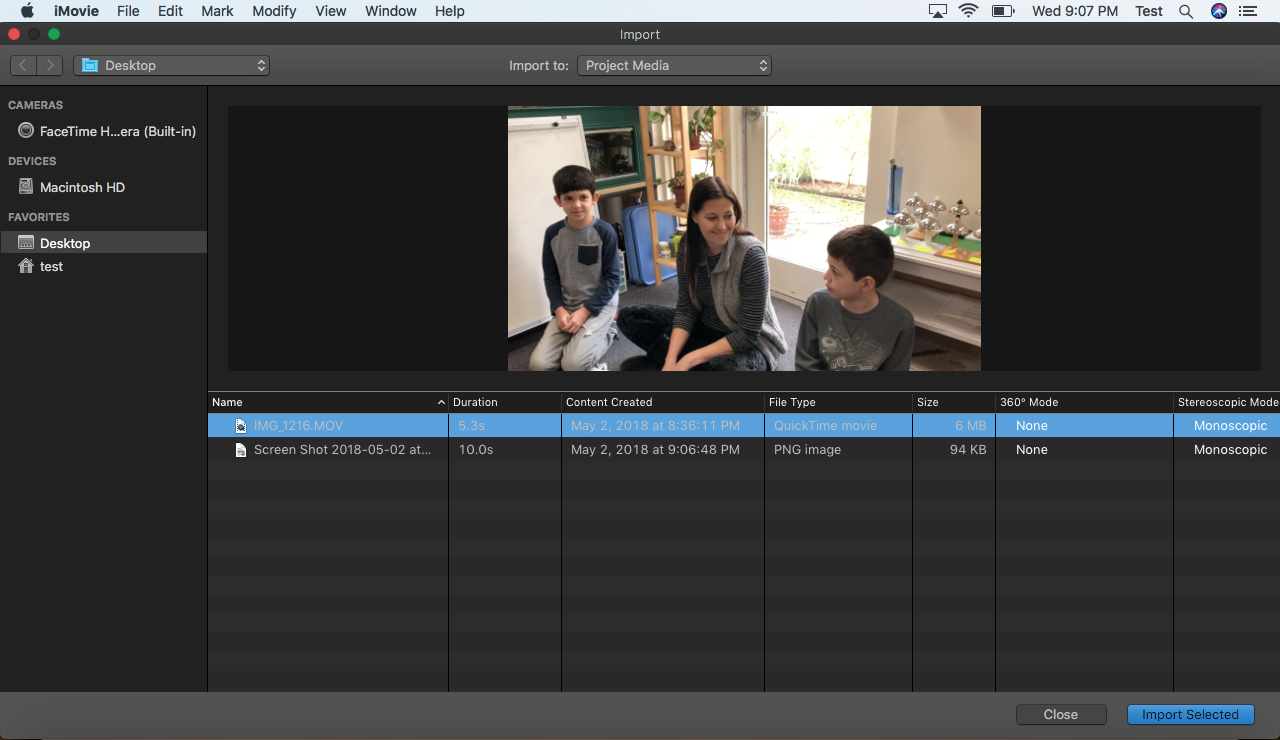
2.) Select your video so it is highlighted and click the blue “Import Selected” button.
3.) Now select your video so that it is highlighted in yellow.
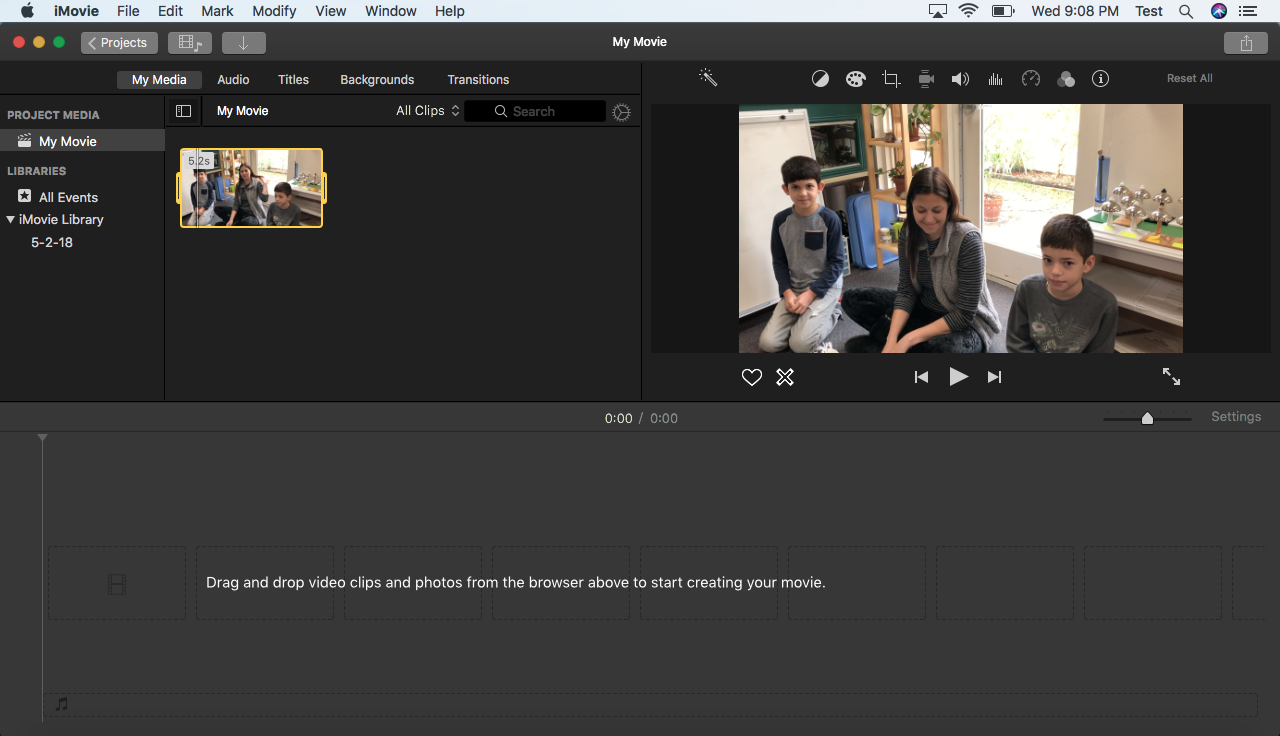
4.) Click “File” at the top of the page. From the dropdown menu select “Share” and then “Email”.

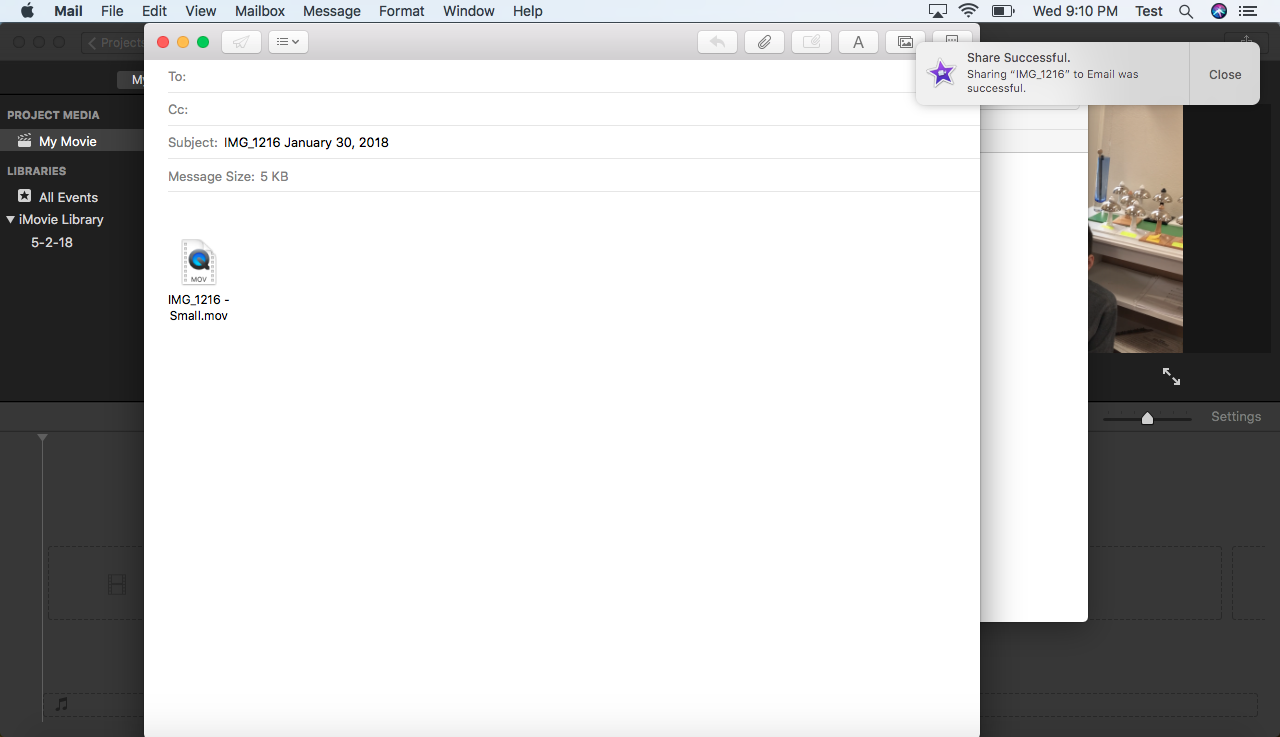
5.) In the window that pops up, click on the blue “share” button.
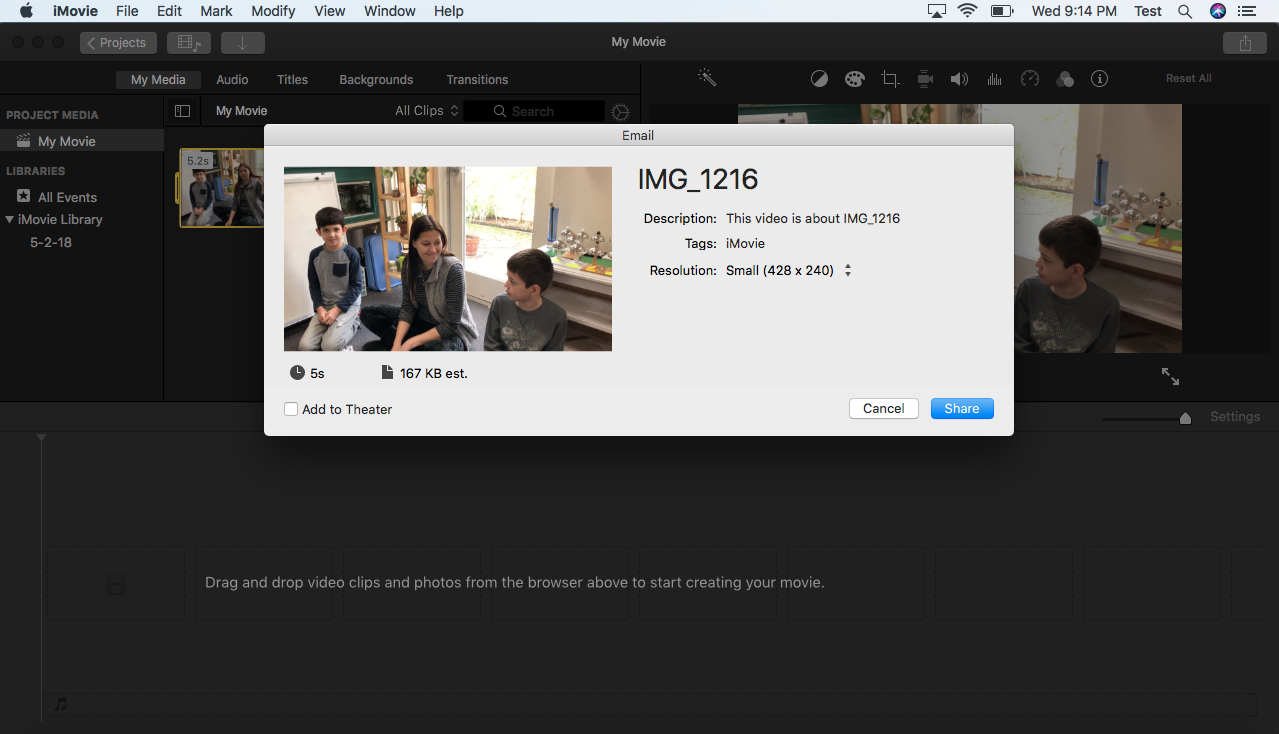
6.) You should see a message pop up saying your share was successful and your video should pop up in an email as a smaller version. Drag this video to your desktop so that it is easy to find when you are ready to upload it.
0 Comments